

Zapier
Send contact and event data to Regal with Zapier
This guide outlines how you can use Zapier to send users and events to Regal. If you have any questions email [email protected].
A Zap is an automated workflow that connects your apps and services together. Each Zap consists of a trigger and one or more actions.
Regal offer's a native Zapier app you can use to create or update a contact and create an event. If you require more customization leverage Webhooks by Zapier
Basic: Regal Zapier App
To update or create a contact and to create an event, you must include at least one of the following identifiers in your call; userld, phones, emails.
Create or Update a Contact
If a field is not mapped in the Action node, the data will not be sent to Regal
Step 1: When setting up your Zap, first select your Trigger.
Step 2: Add new action and search for "Regal" (with the green crown)
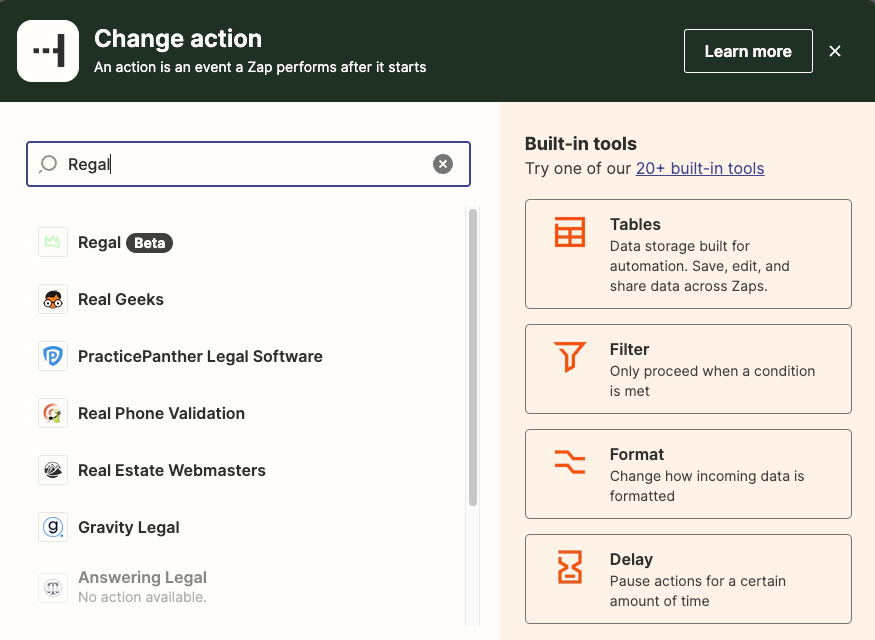
Step 3: Select desired action "Create or Update Contact" or "Create an Event"
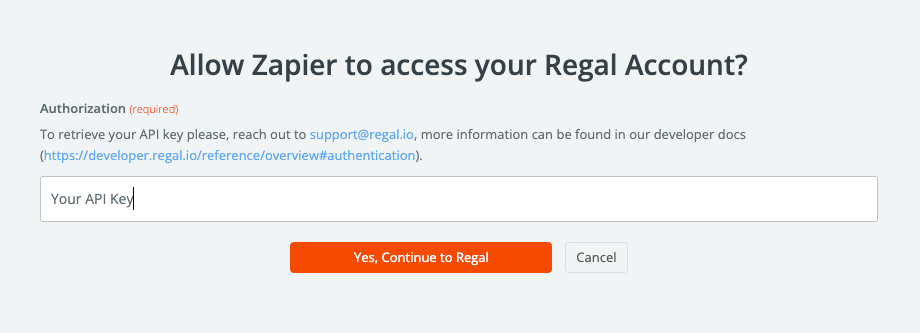
Step 4: "Sign in" by pasting Regal API and click "Yes, Continue to Regal"
Step 4: Under "Action" map or hardcode desired values you'd like to update or create.
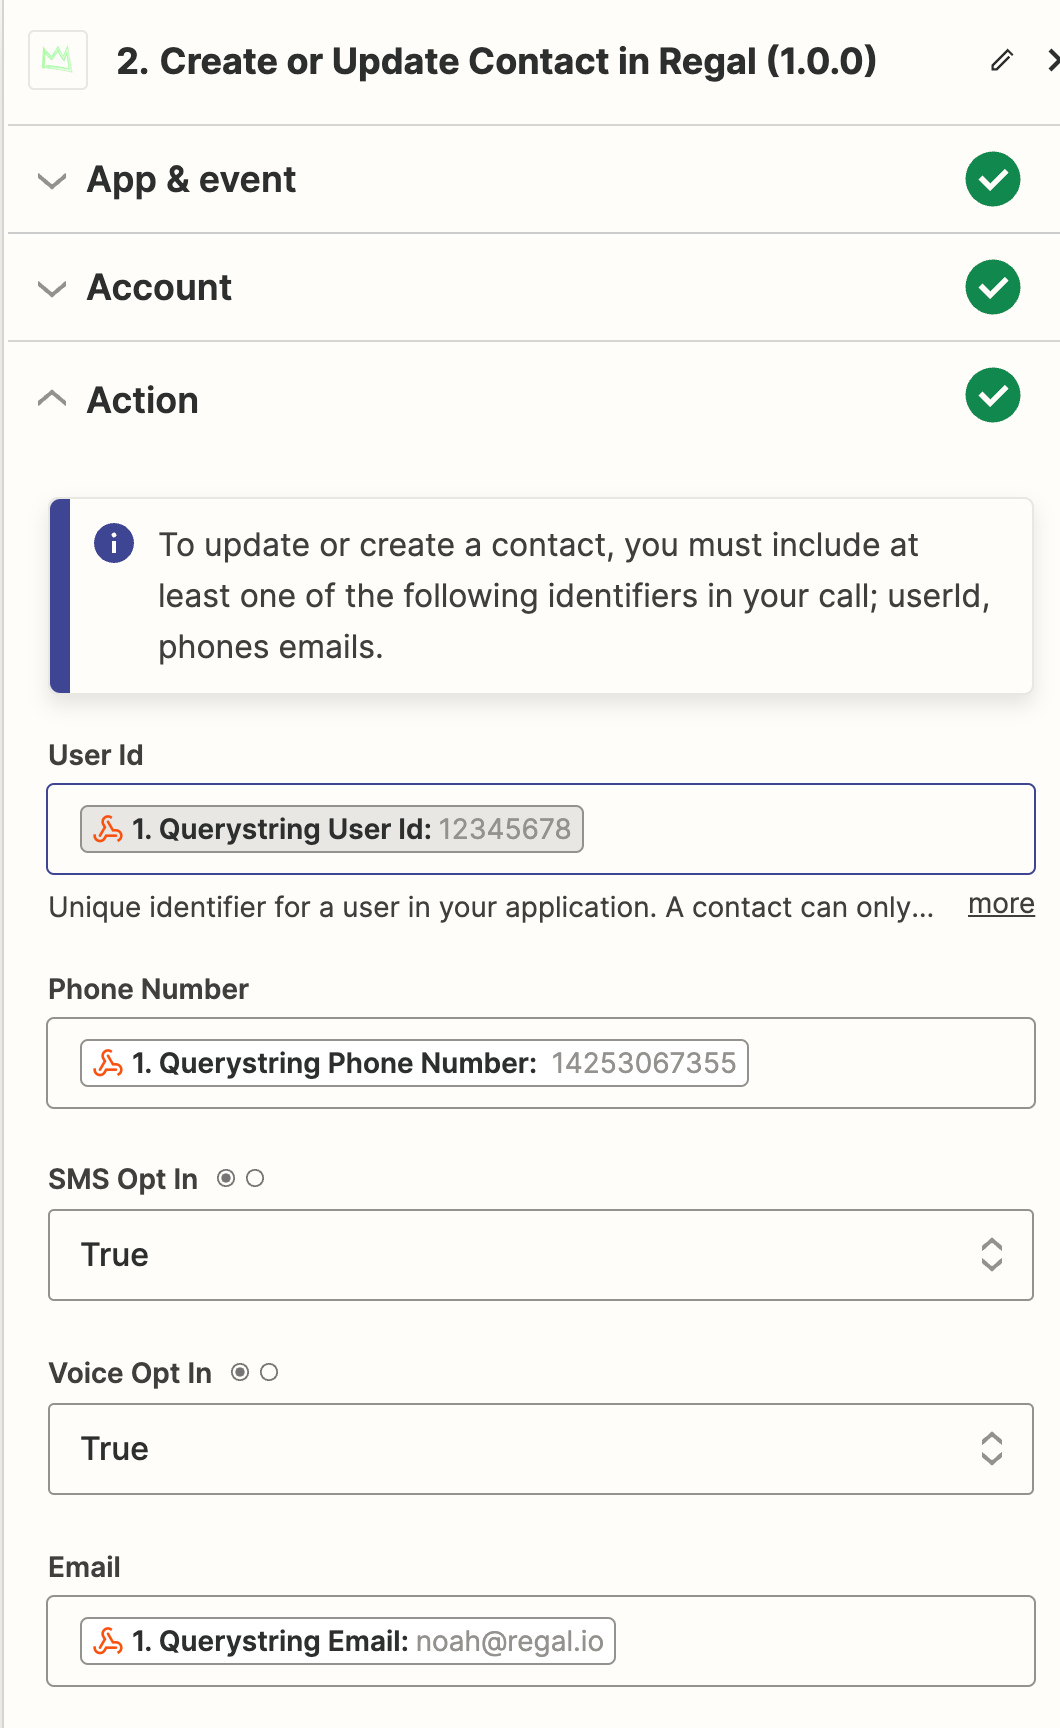
Step 4: Test Action to ensure the data was sent to Regal before publishing the Zap.
Advanced: Webhooks by Zapier
Step 1: When setting up your Zap, first select your Trigger.
Step 2: Select "Webhooks by Zapier" as your Action.
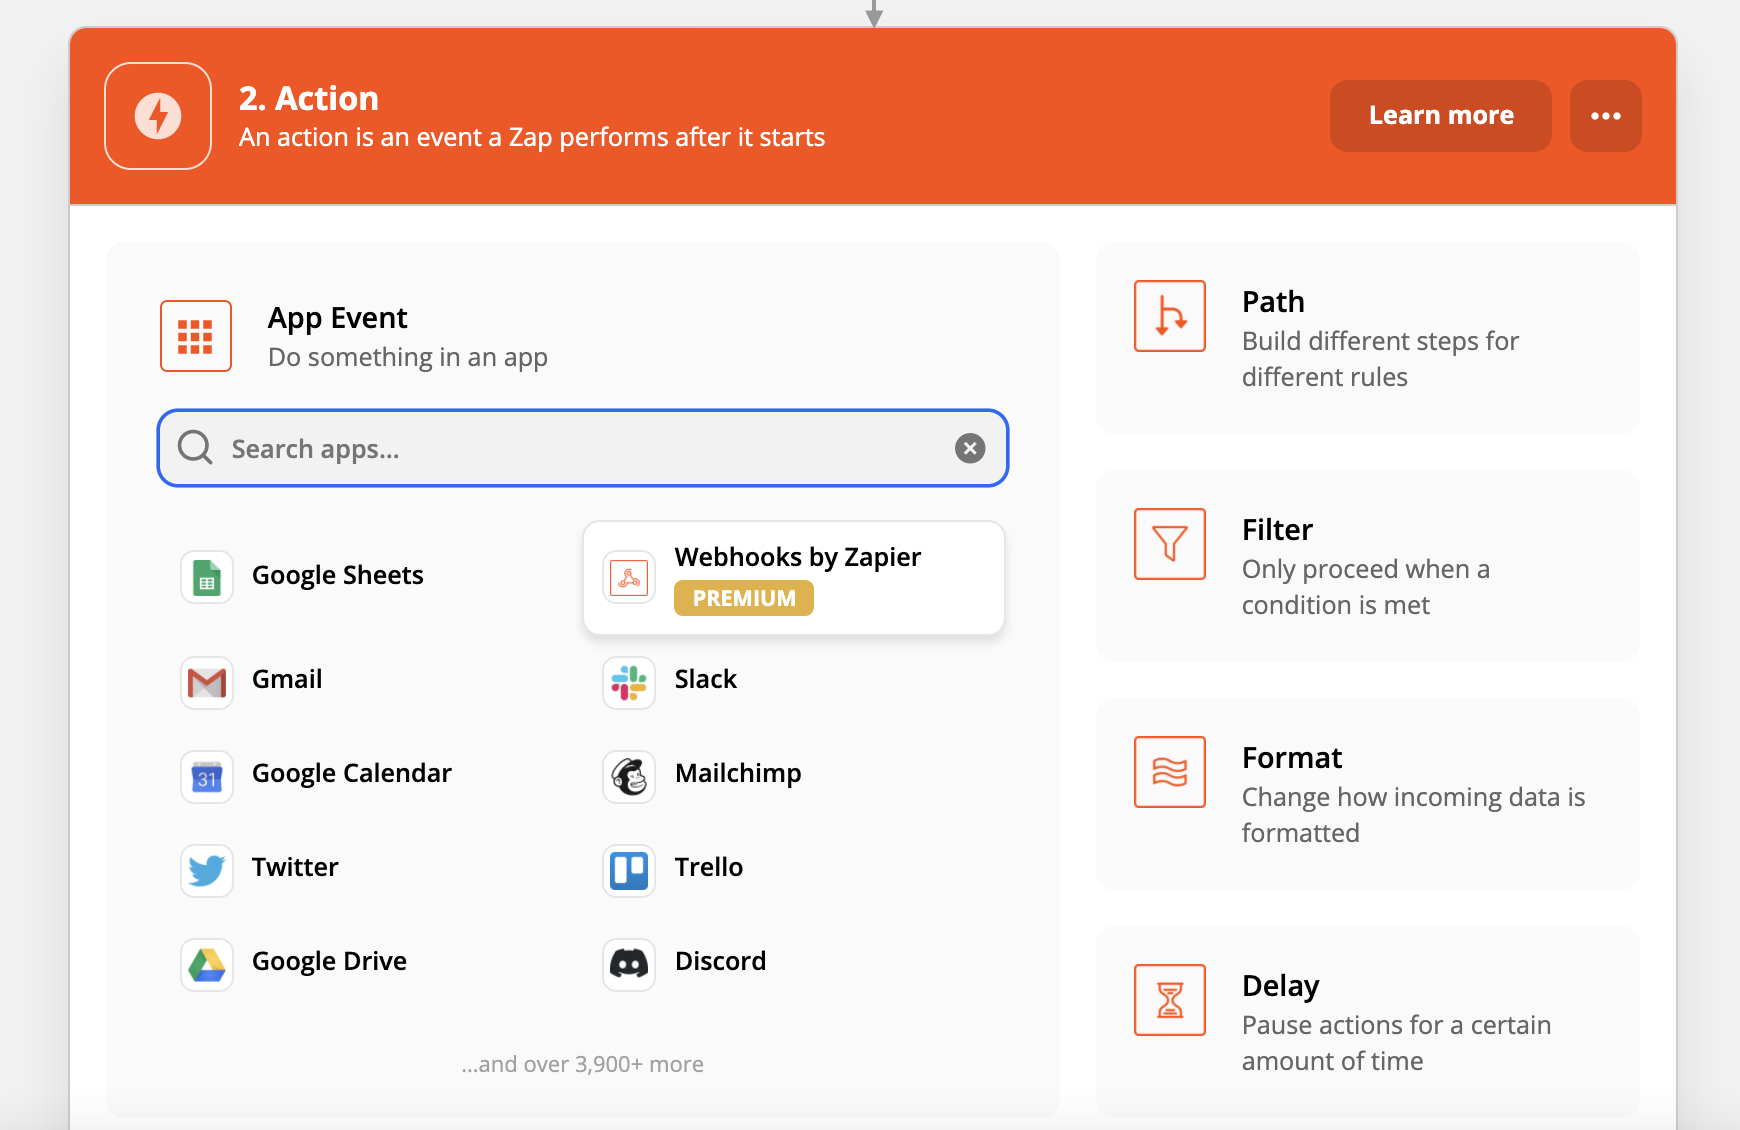
Step 3: Select "Custom Request" from the Action Event dropdown and hit Continue.
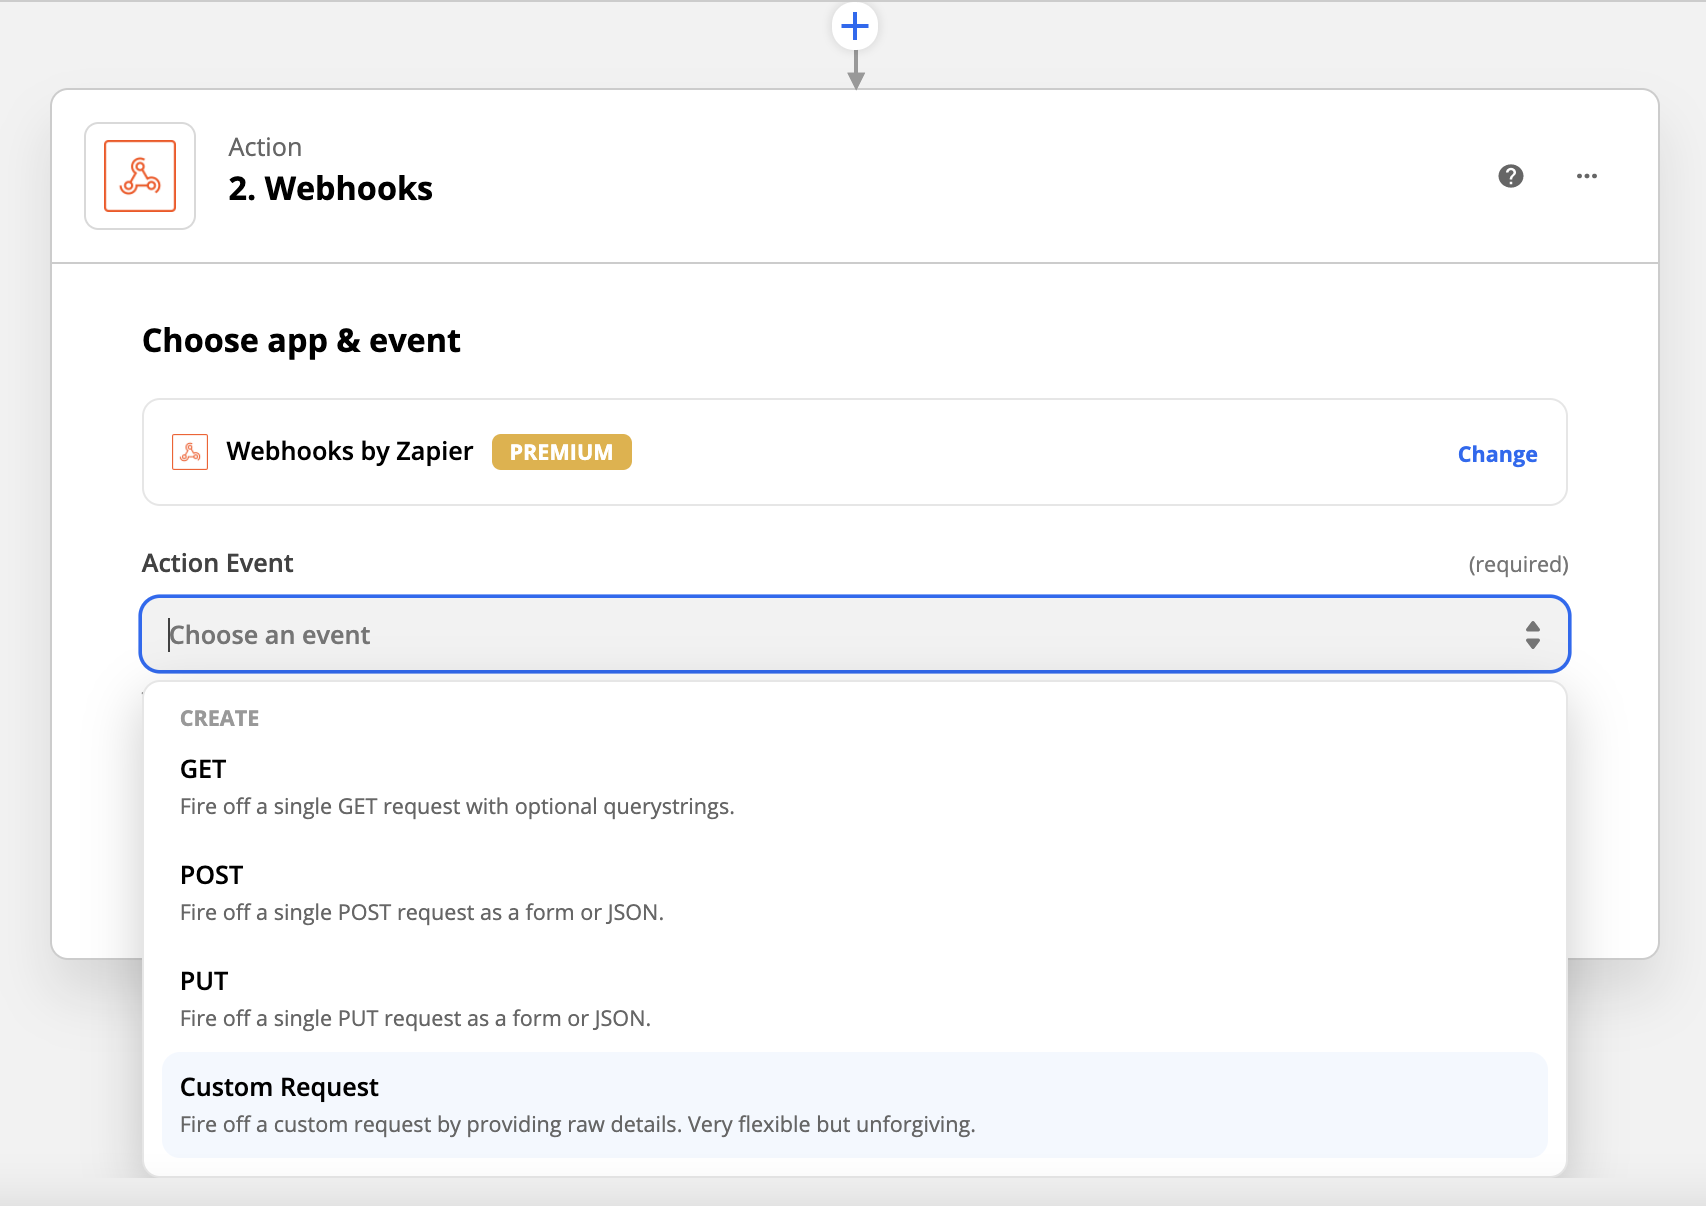
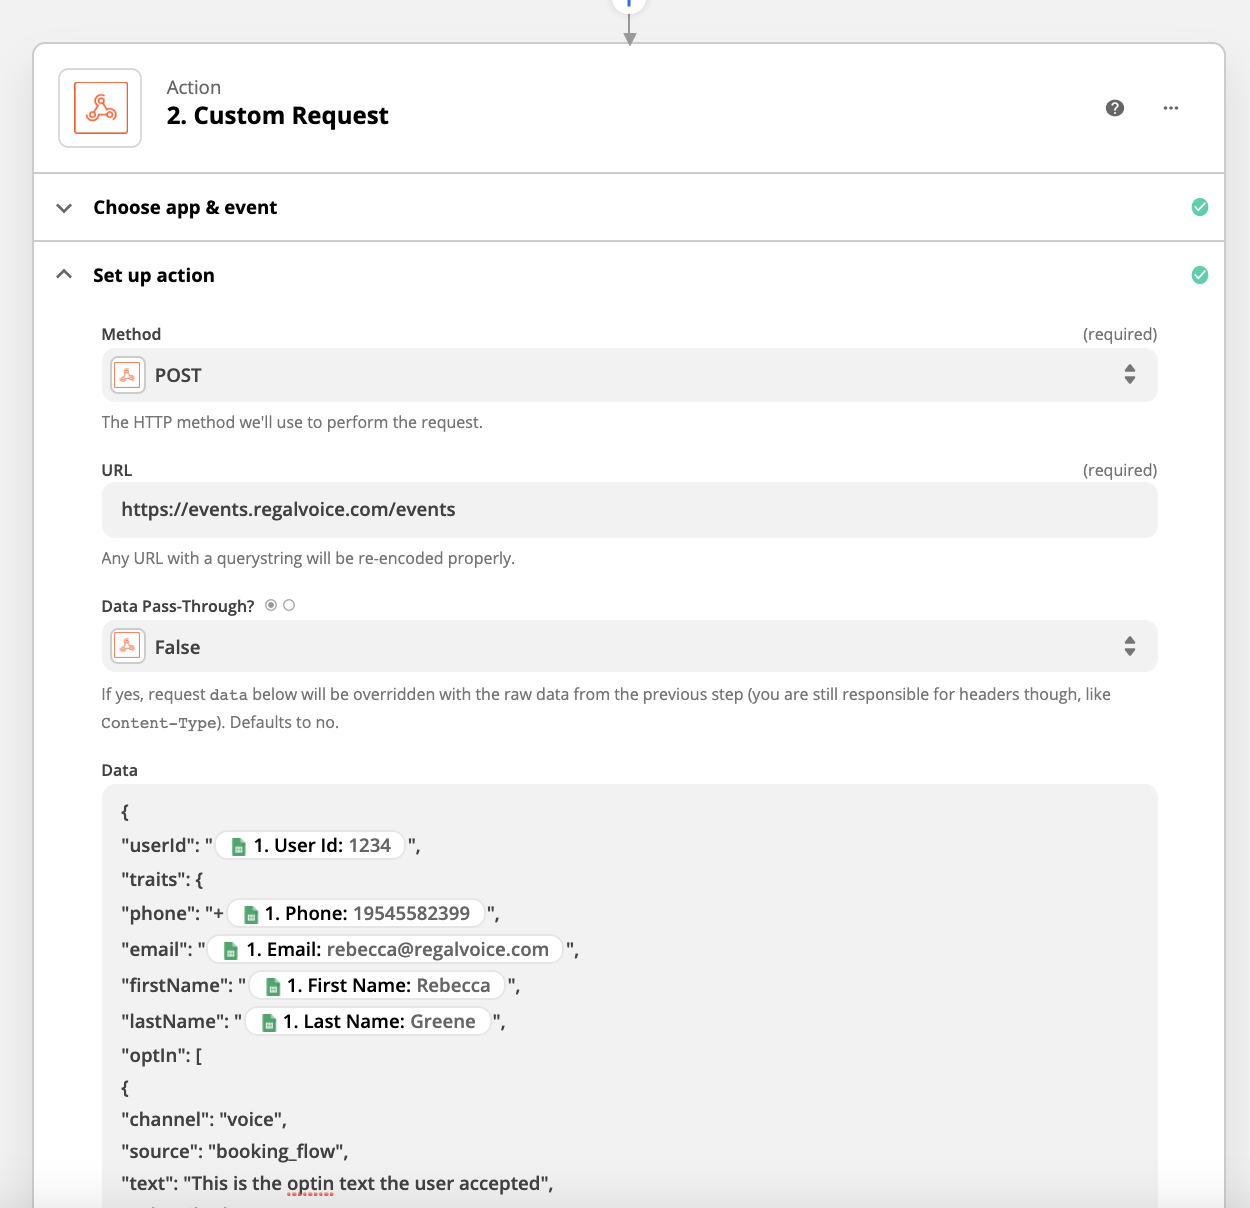
Step 4: Set up your action using the following inputs and then hit Continue:
- Method: POST
- URL: https//events.regalvoice.com/events
- Data Pass-Through? False
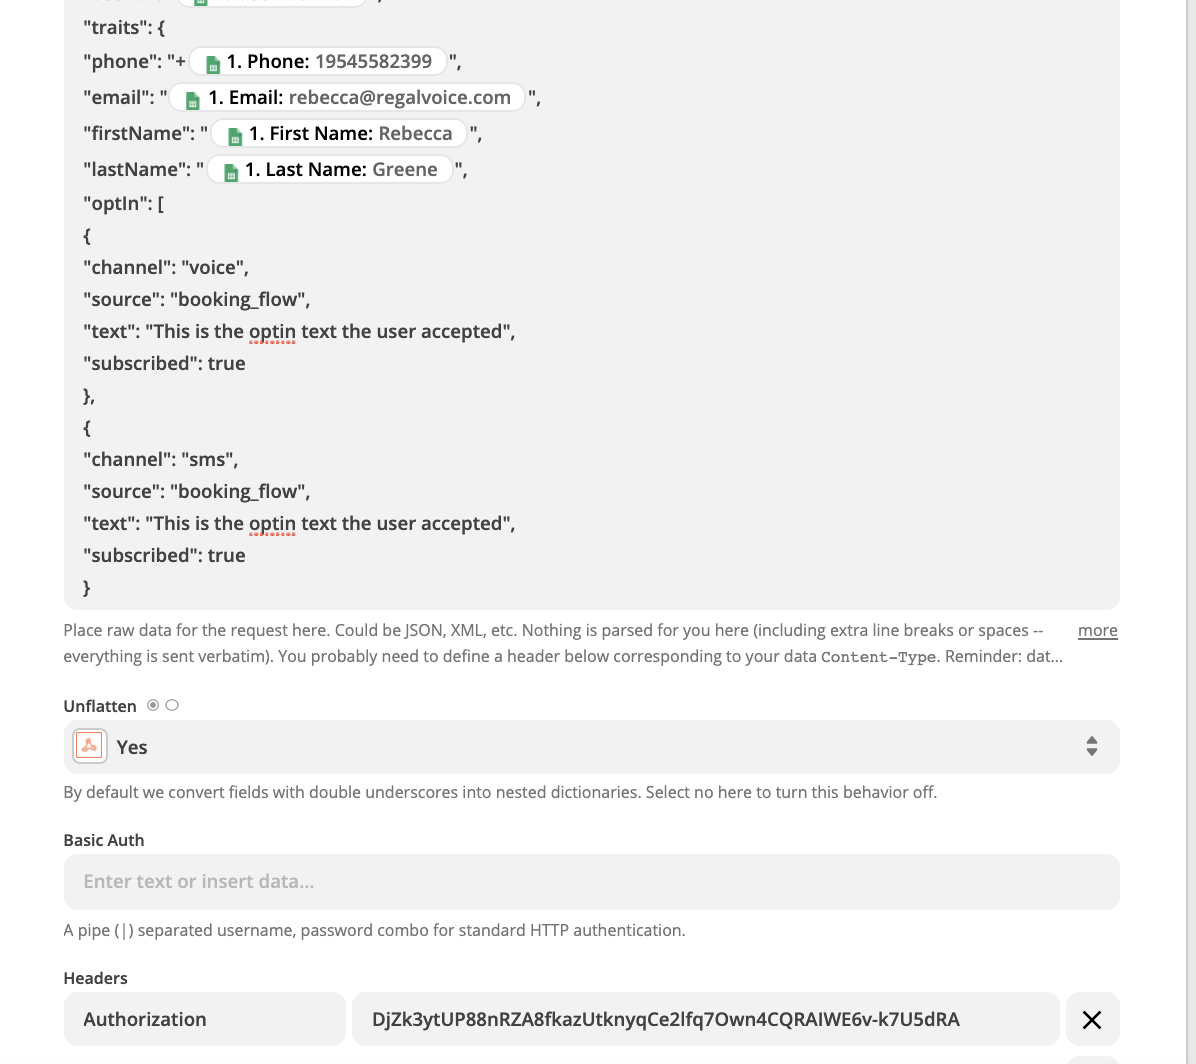
- Data: Input custom json following the format from: https://developer.regalvoice.com/#tag/Regal-Voice-API/paths/~1events/post
- Unflatten: Yes
- Basic Auth: Leave blank
- Add a Header:
- Authorization : Enter your Regal API key
Email [email protected] to get your API key
Testing your integration
Step 5: Test your Zap by selecting "Test & Review". If you do not receive an "OK" message, email [email protected] for help.
- Go to the Recent Activity page in the Regal app to view incoming track and page events
- Go to the Audience page in the Regal app to view your contacts (created from identify events) - remember in order for a user to appear in your audience they must have a phone. You can also view their optIn status from the Audience page
Updated 6 months ago