Batch Dialing
Upload a CSV of contacts and start dialing instantly from Regal. The main steps are:
- Create a segment of contacts from a CSV
- Create a call campaign
- Set up a Scheduled journey to dial those contacts at a pre-scheduled time
- Route those calls to your AI agent
Use Cases
- Backfilling a list of contacts from another platform
- One off campaign that's time bound - e.g., for a holiday or promotion or end of quarter
- Lapsed customer re-engagement
Step 1: Upload CSV to Create Segment
- Navigate to the Segments page and click on 'New segment'
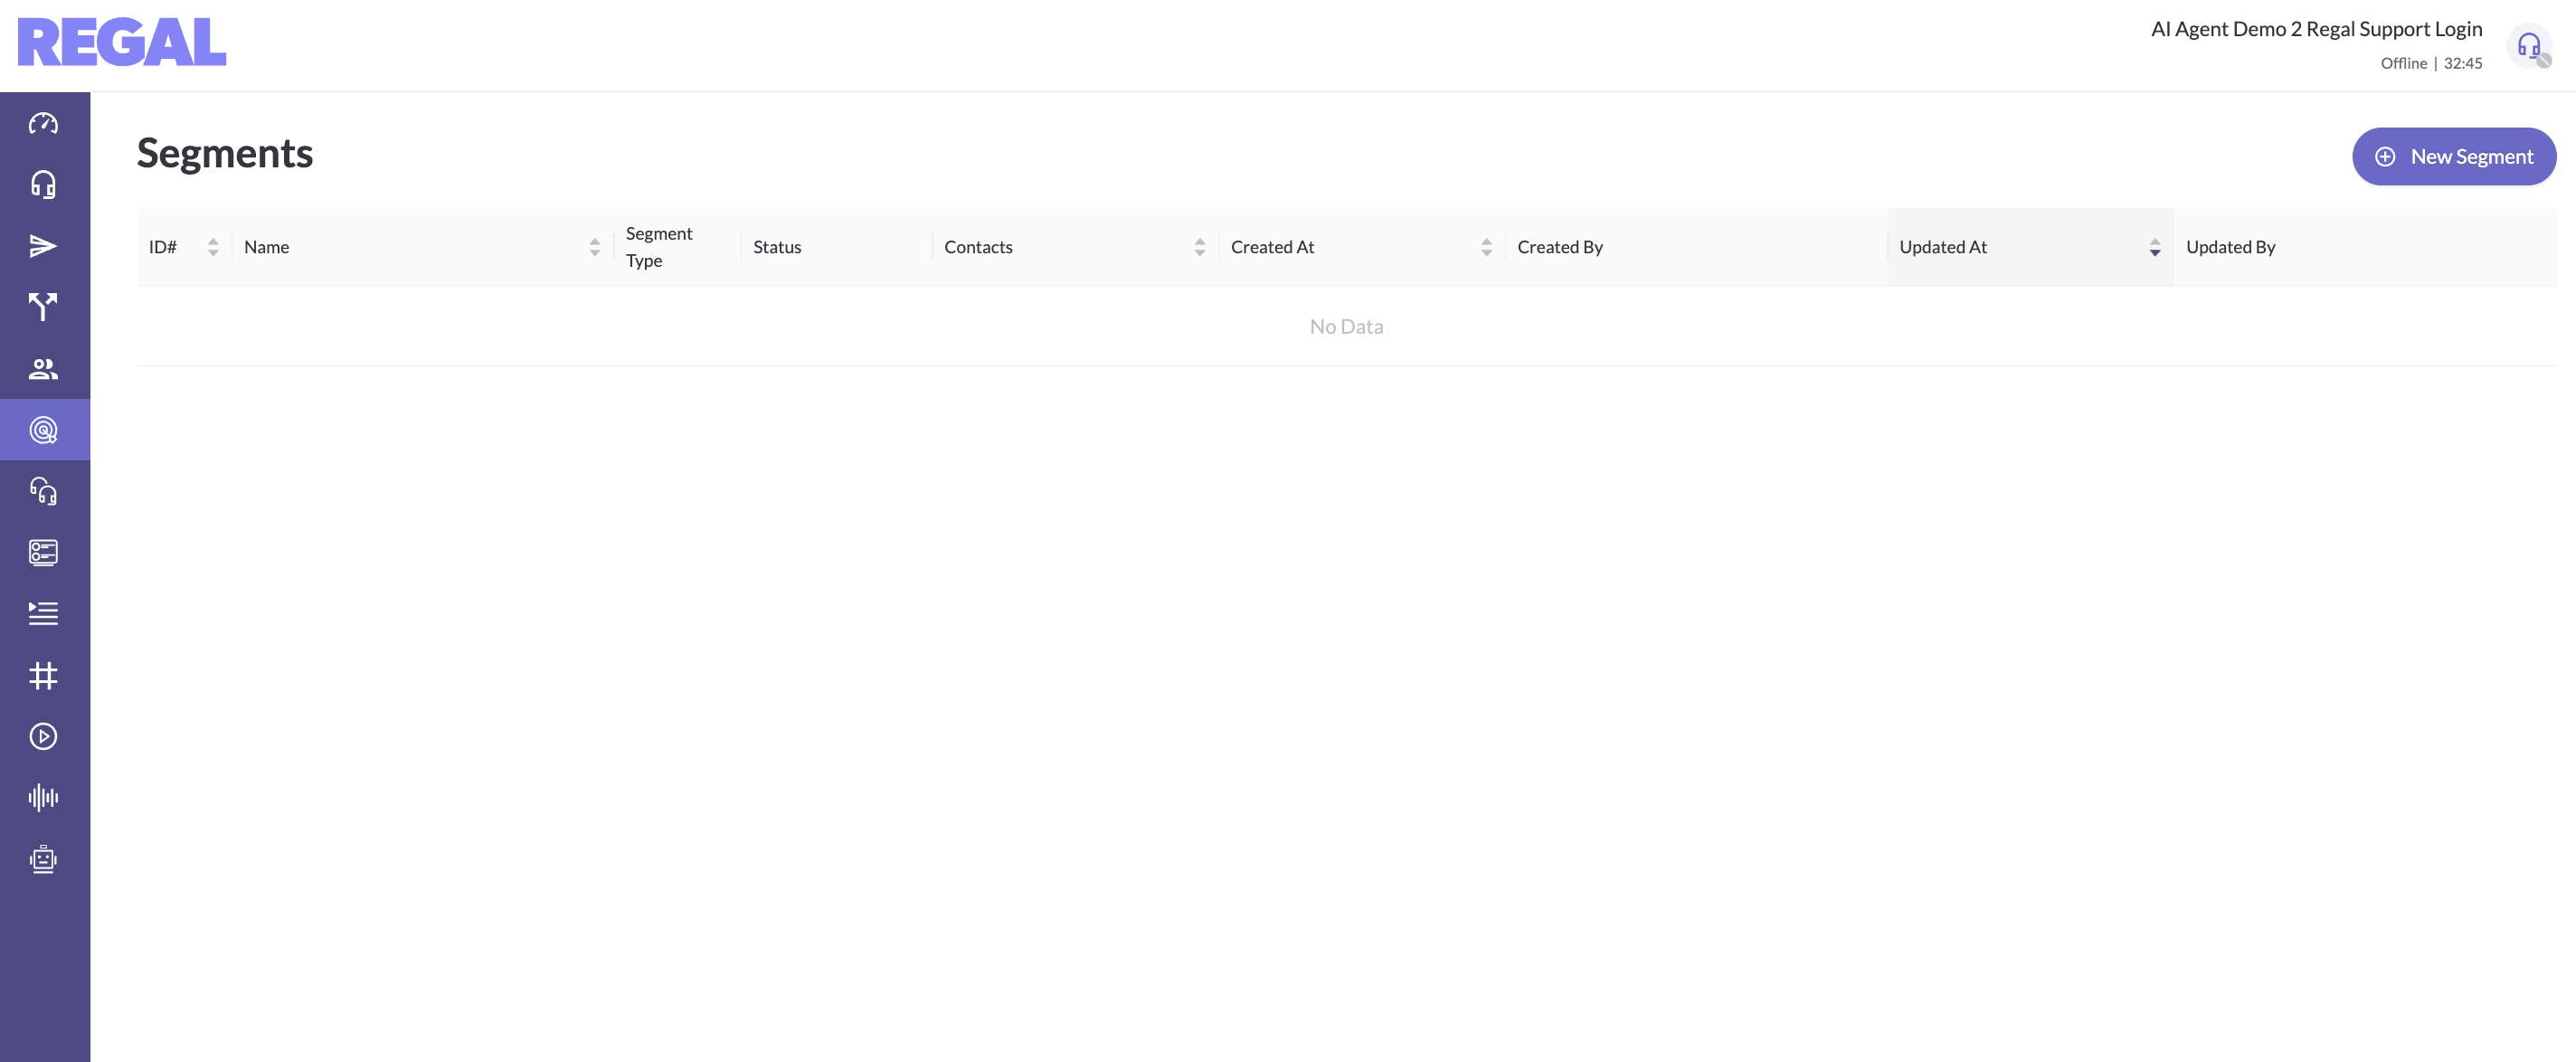
- Name your segment and select method as 'CSV Upload'
- Drag your CSV file (in the right format)
CSV Formatting and Required FieldsRegal expects a particular format. File must be .csv not .xls etc. And the fields names have to conform to our requirements. Use this example template, and message [email protected] if you need help. Make sure to include optIn for voice, otherwise your contacts won't be able to receive outbound calls.
- Optionally check the option for "My file contains an additional header that specifies data types. Supported types include BOOL, FLOAT, DATETIME, STRING." This is necessary if you're uploading contacts with new attributes that have data types other than strings (Regal defaults to string otherwise)
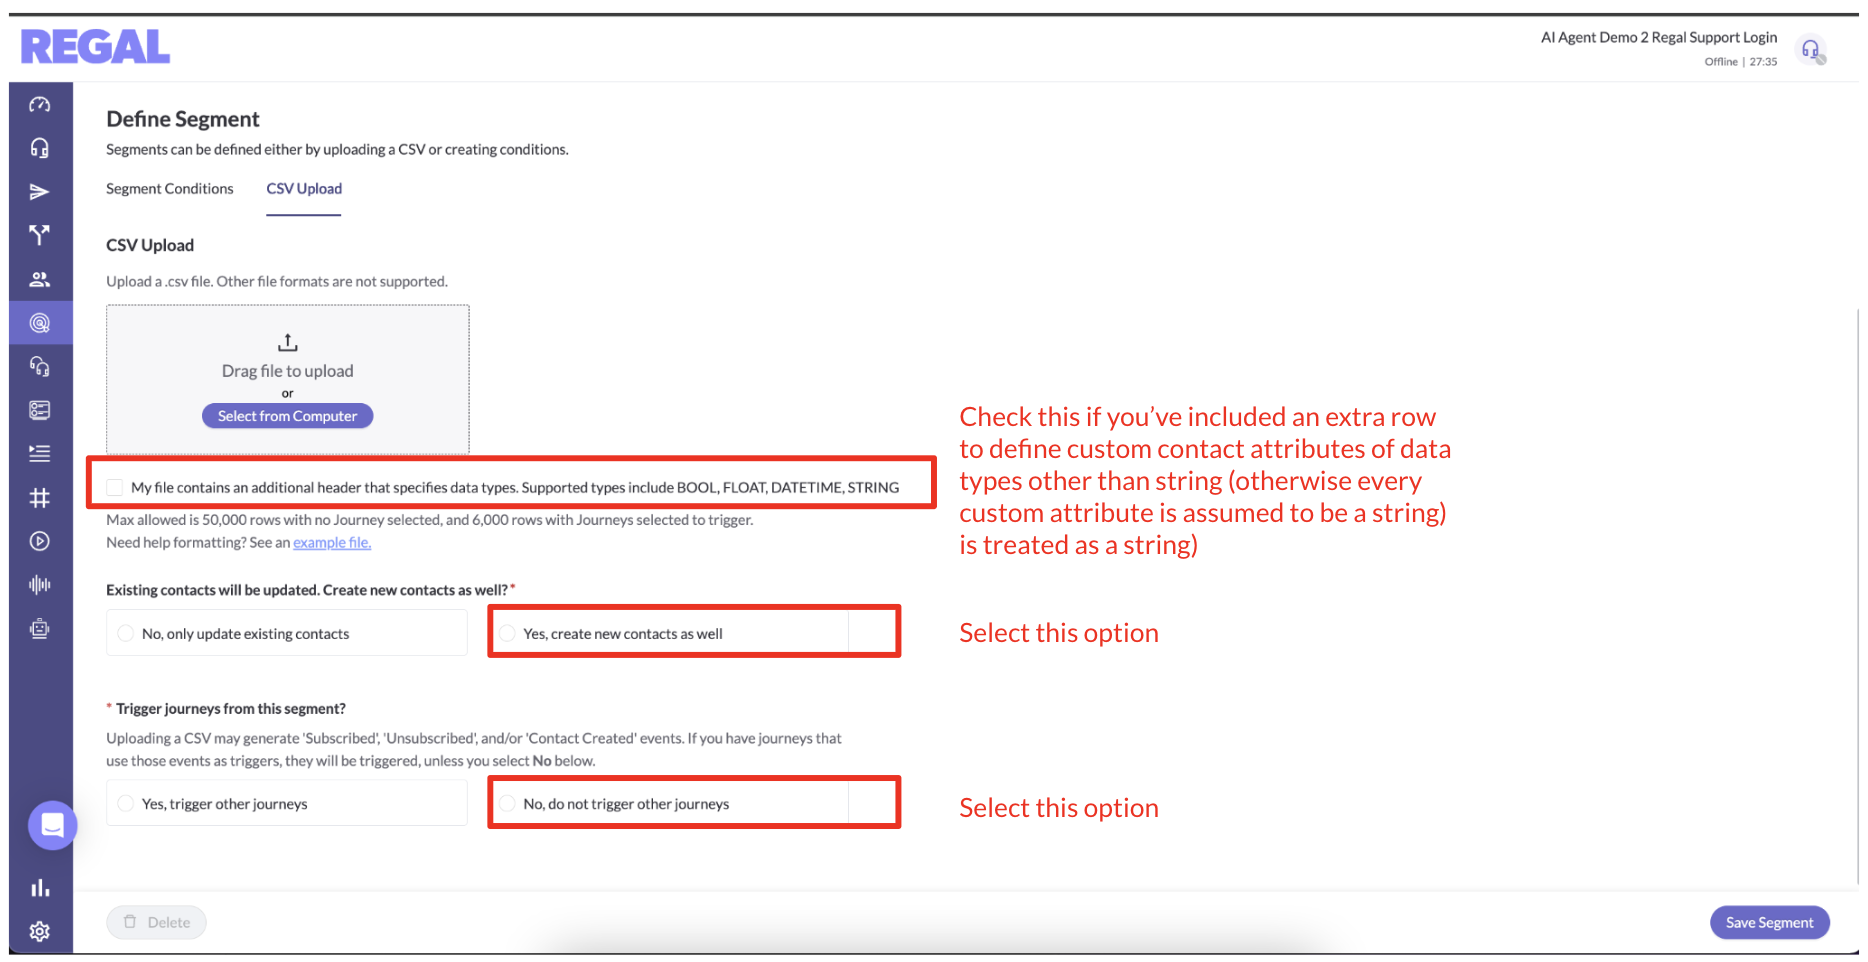
- Select "Yes, create new contacts as well" unless you're just using the CSV to update some attributes of existing contacts.
- Select "No, do not trigger other journeys" - you will set up a Scheduled journey for dialing these contacts in Step 3
- Save Segment
From the Segments page you can see as your segment is processed how many contacts are being processed, and the status will update once complete.
Step 2: Create Outbound Call Campaign
Create your call campaign you want to dial to this segment.
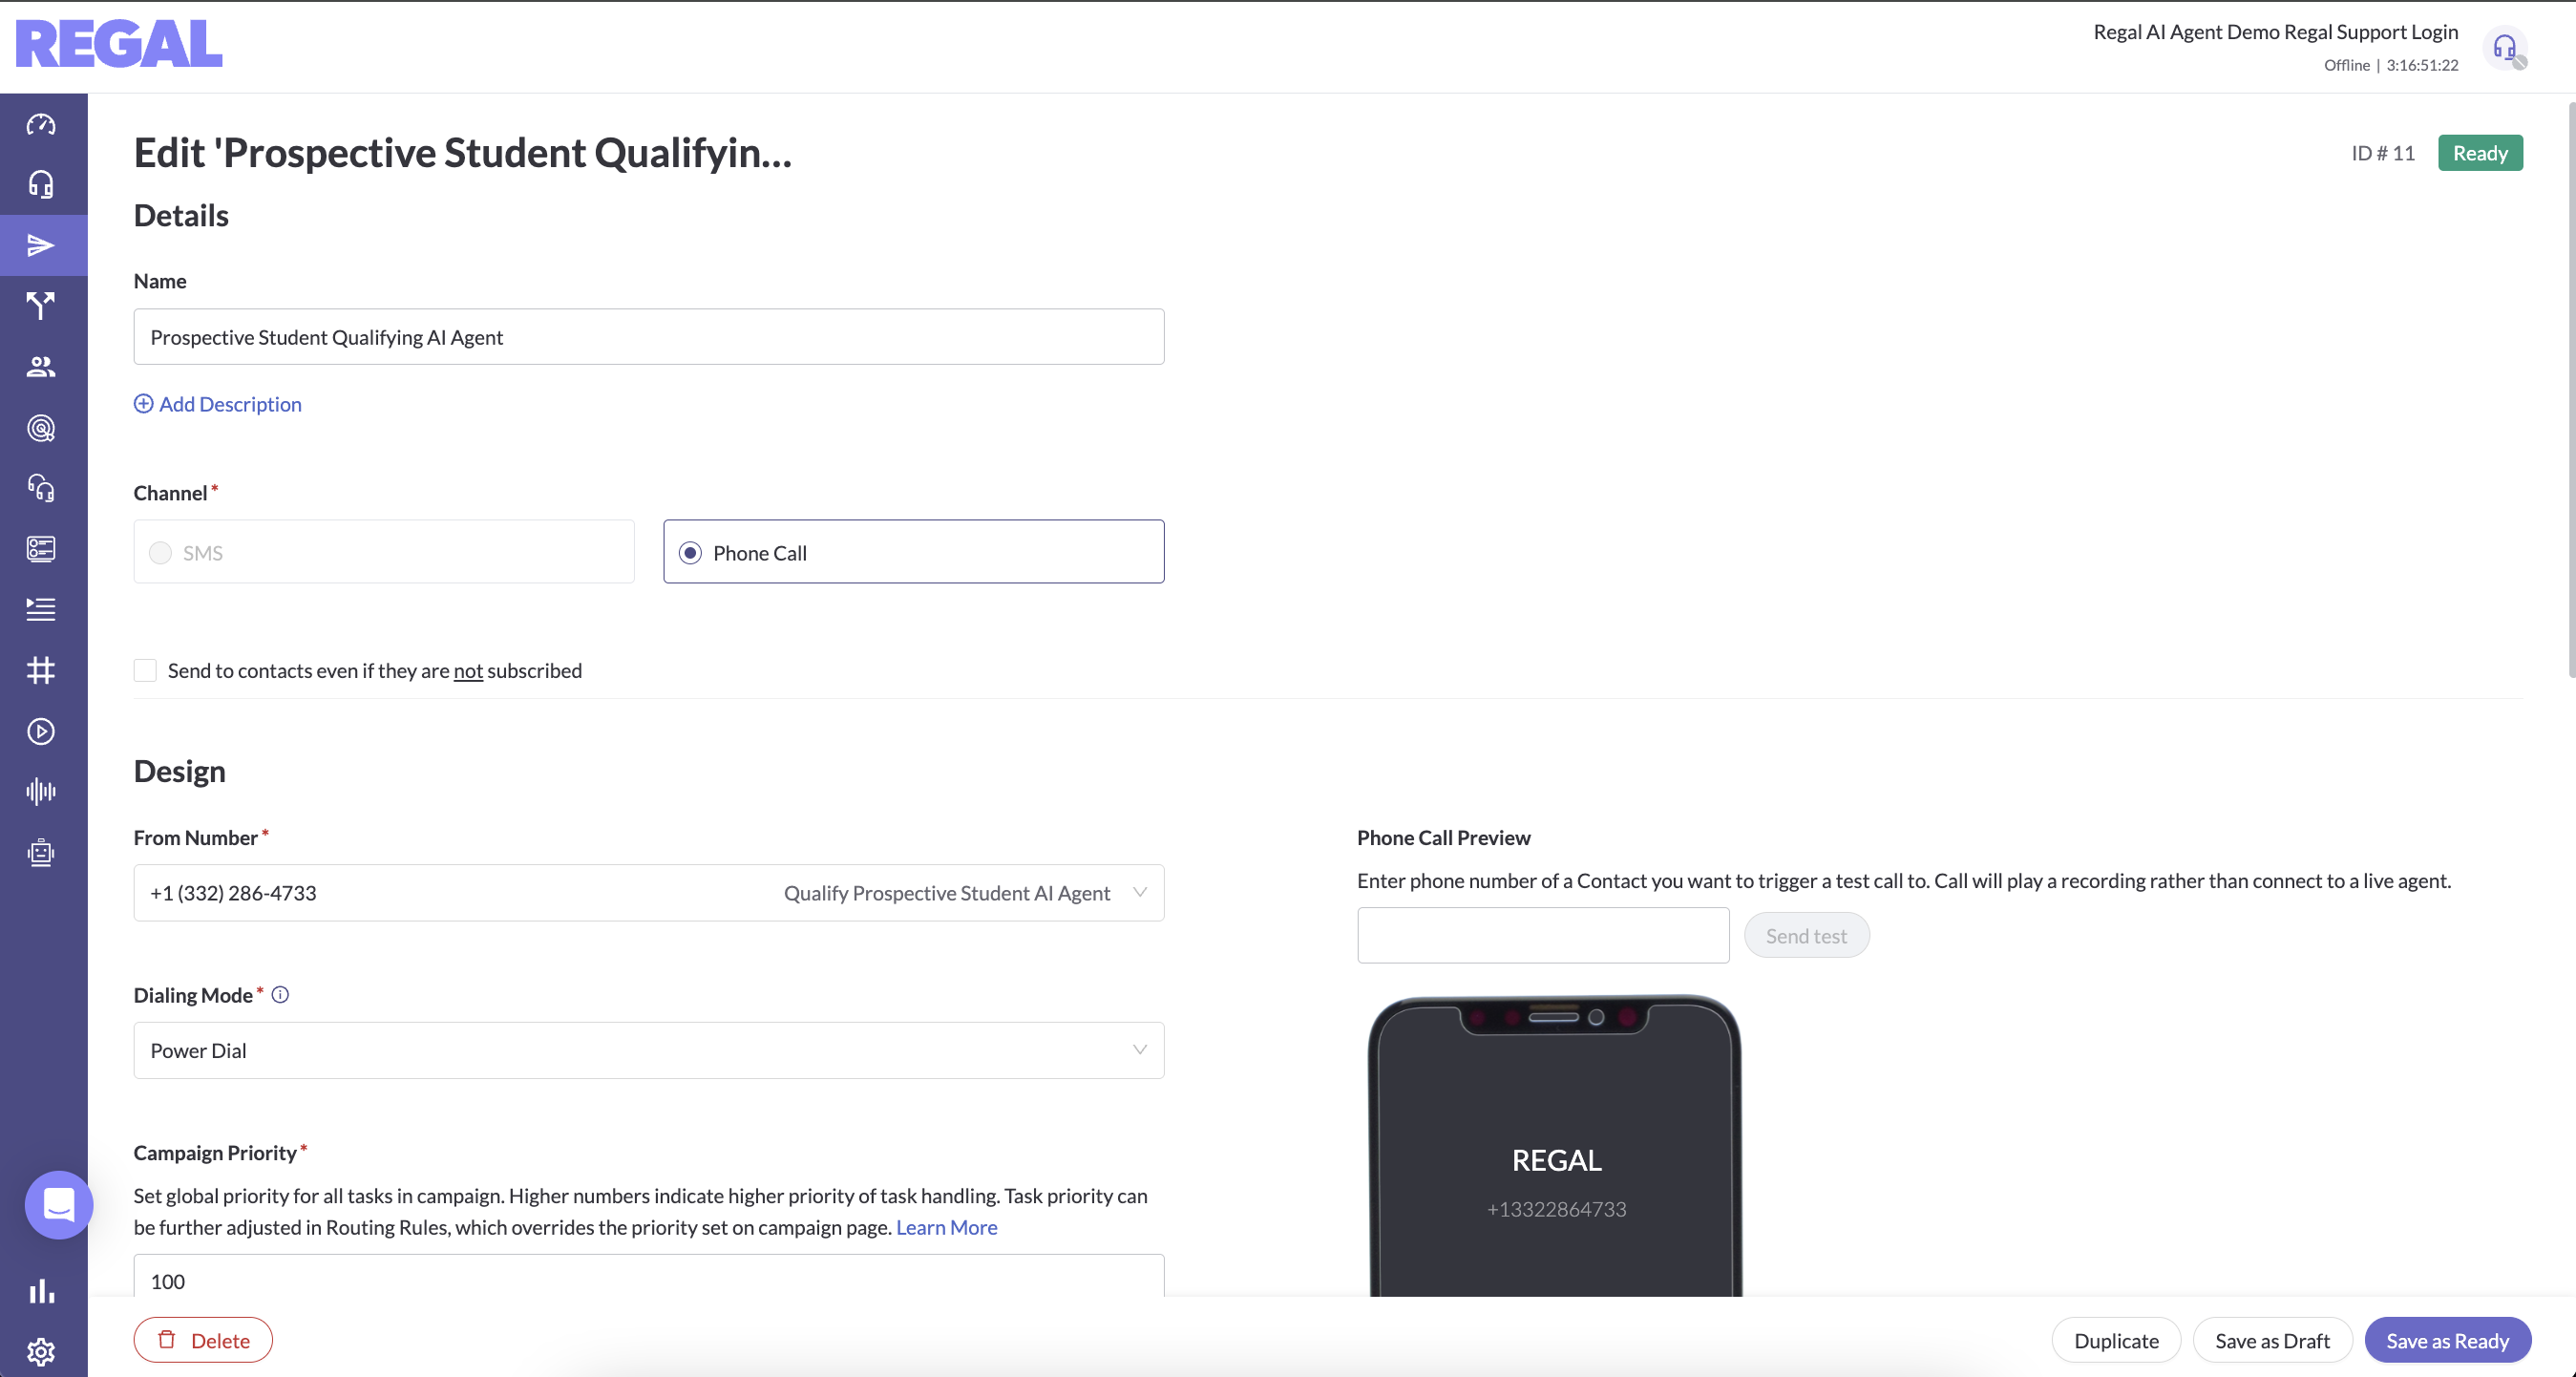
- Navigate to Campaigns and select New Campaign
- Select 'Phone Call' as channel
- Select the phone number you want to dial from - this can be a static number or dynamic based on area code or an integration with OutboundANI. Talk to your FDE about setup for these more advanced options.
- Select your dialing mode
- Power or Preview Dial: those are the same when it comes to AI Agents. It means the agent is on the call from the moment it starts to dial including ring time. You can optionally also run AMD while the AI agent is on the call.
- ✅ Pros: Gives AMD more time to determine if it's a voicemail (higher accuracy)
- ❌ Cons: Incurs AI agent consumption on ring time
- Progressive Dial: this means Regal dials the call and waits until the call connects to add the AI agent. Then we run AMD for ~3 seconds to determine if a human answered. If no, we remove the AI agent and either end the call or drop a pre-recorded voicemail (depending on your selected preference). If yes, the AI agent handles the call
- ✅ Pros: Don't incur AI agent consumption on ring time
- ❌ Cons: Only give 3 seconds for AMD to determine voicemail (lower accuracy), can't have AI agent leave a personalized voicemail
- Power or Preview Dial: those are the same when it comes to AI Agents. It means the agent is on the call from the moment it starts to dial including ring time. You can optionally also run AMD while the AI agent is on the call.
- Progressive dial campaigns additionally require you to select the target queue for where this task should be routed
- Set the Priority - calls with higher priority routed to the same queue will be prioritized first
- Voicemail options - if you want to leave a pre-recorded voicemail, select that option, else select no voicemail. (If you select pre-recorded voicemail, you'll first need to upload a voicemail recording by navigating to Settings > Recordings > New Recording).
- The rest of the fields are unimportant for AI agent calls, you can just type in placeholders to save the campaign.
- Save your campaign as Ready.
Step 3: Create Scheduled Journey
To trigger calls to the segment you just created, you need to set up a Scheduled Journey.
- Navigate to Journeys and select New Journey
- Click into the trigger node and select "Schedule"
- Select the date and time you want to this journey to be triggered
- Connect a 'Create Call Task' node to your journey, and select the campaign you configured
- Save your journey as live
This Journey will trigger calls for the contacts included in the selected segment (at the time of the send).
Journey will be triggered once at the specified time, and start queuing up calls into the Task backlog.
Step 4: Routing to the Right Agent
The final step required to get the call to your agent is to Configure an Outbound Call Routing Rule (if you haven't selected Progressive dial) and then turn your outbound voice agent to Available (otherwise your calls will just queue up and/or not get dialed/handled by your agent). See this Outbound Call Routing guide for instructions.
Updated 3 months ago